
Before the Visit
Very little preparation is needed, but a few things help.
Clear access along the exterior perimeter where you can. Make sure the crawl-space access is reachable on a raised home. Gather any documents you have — a previous evaluation, a prior repair invoice, a warranty, an engineer’s letter, or another contractor’s proposal.
And write a short list of what you have noticed and roughly when. In the moment it is easy to forget the door that started catching last spring, and that timeline is genuinely useful.
Our foundation evaluation page covers what the service is. This guide covers what the visit actually looks like.
Step 1: The Walkthrough
The visit starts with a conversation rather than equipment.
We ask what you have noticed, when it started, whether it has changed, and whether anything else has happened at the property: plumbing work, a tree removed or planted, irrigation changes, a very dry summer, a previous repair. That history matters. A crack that appeared last month reads differently from one that has been stable for a decade.
You walk us to what concerns you. That is often the most efficient part of the visit.
Step 2: The Relative Elevation Survey
This is the measured core of the evaluation.
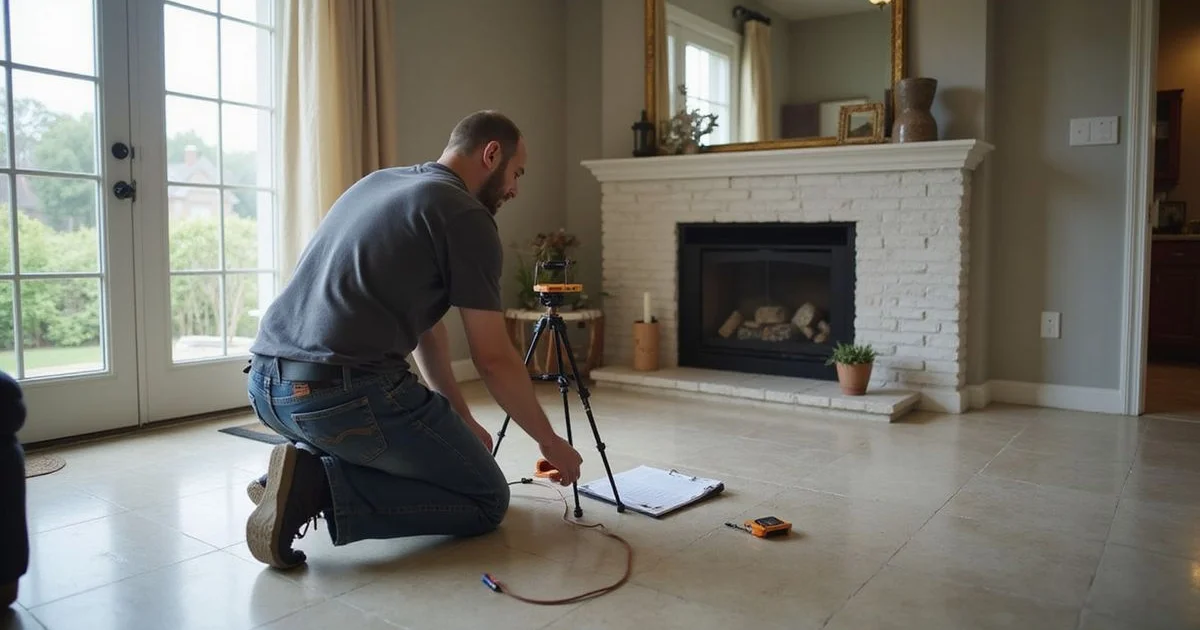
A level reference is established — typically a laser level set up centrally — and floor height is recorded at points across the accessible living area against a benchmark datum. The result is a picture of the floor plane: where it is low, where it is high, and how sharply it changes across a distance.
The word relative is doing real work. The survey compares points on your floor to each other, not to sea level. That is what makes it repeatable and what makes a second survey months later genuinely comparable.
Readings are taken through rooms, hallways, and across doorways. Furniture sometimes needs stepping around; it rarely needs moving.

Step 3: Distress Mapping
Interior and exterior distress is recorded by location, orientation, and pattern.
Inside: sheetrock or plaster cracking, particularly at door and window corners; ceiling-to-wall seam separation; gaps at baseboards and trim; tile fracturing; and how doors and windows operate, including where they bind.
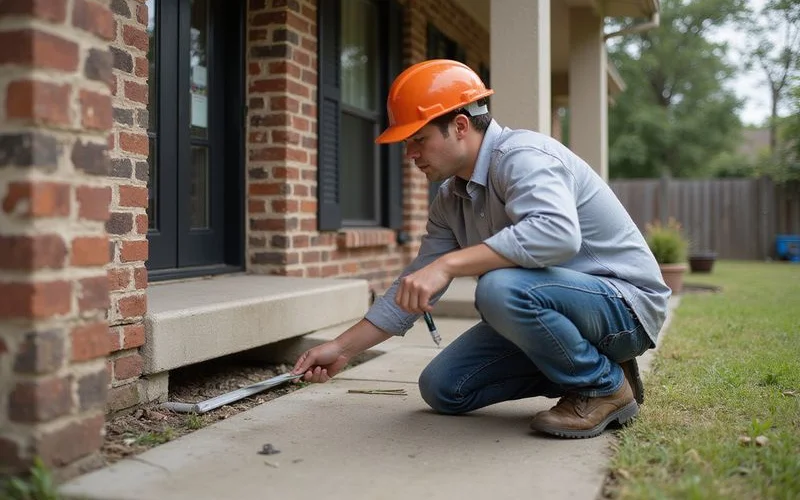
Outside: brick and mortar cracking including stair-step patterns; separation at the frieze board; gaps where a porch, garage, or addition meets the main structure; and displacement of a wall in or out of plane at a crack.
Crack width alone is not a diagnosis, and there is no universal width rule. What carries information is where cracks are, which way they run, and whether the interior and exterior picture correspond on the same elevation.
Step 4: Site Conditions
Movement has a cause, and the cause is usually visible outside.
Recorded: perimeter grade and whether it falls away from the structure; where downspouts and gutters discharge; standing-water evidence; irrigation coverage and evenness; tree species and proximity; the foundation type; hardscape adjacent to the structure; and any evidence of previous repair.
Step 5: Crawl Space (Raised Foundations)
On a pier-and-beam home, the assessment extends below the floor, through the existing access opening: pier plumb and pad condition, shim placement, girder and beam condition including deflection, joist condition, sill-plate condition near grade, clearance, ventilation, soil moisture, standing water, and any evidence of termite or fungal activity.
Support findings and wood-condition findings are reported separately, because they are different problems with different scopes.
Step 6: Findings Explained On Site
Before we leave, we walk you through what the readings show while everyone is still standing in the house. It is far easier to follow a pattern in a floor plane while you are looking at the floor than to read about it afterward.
This is where the honest conclusions get said out loud, including the frequent one: the readings do not support repair, here is what to watch, re-measure after the next seasonal swing.
Step 7: The Written Report
You receive a documented report containing:
- The relative elevation readings
- The distress mapping
- The site conditions recorded
- The conclusion those findings support
- A plain statement of what the visit could not establish
- Where repair is warranted, a scope covering method, inclusions, exclusions, schedule, warranty, and payment terms
The report is yours regardless of what you decide. Show it to another contractor. Keep it with the house papers. Use it as the baseline when you re-measure.
What the Evaluation Cannot Establish
Stated clearly because it matters.
It is not an engineering assessment. It does not produce a professional engineer’s stamped opinion. Where your situation calls for one — a transaction, a dispute, a permitting requirement, or a genuinely uncertain remedy — we say so. The contractor versus engineering assessment guide explains the difference.
It is non-destructive, so it does not establish what is under the slab. Under-slab plumbing condition requires a plumbing assessment. Soil profile at depth requires geotechnical investigation.
It is a snapshot. One survey tells you the current state. Two surveys separated by a season tell you whether something is moving.
And it does not certify past work performed by someone else. It measures the current condition.
After the Visit
Three outcomes, all of them normal.
Repair is warranted. You receive a scope and a proposal, and you decide in your own time.
Monitoring is the answer. The report says so, gives you a baseline, and tells you when to re-measure.
Something else is the issue. Sometimes the picture points toward a plumbing assessment, a drainage problem, or a different trade entirely. We say so rather than selling you the work we happen to do.